How I Make Piano Covers
A brief walkthrough on how I record piano covers and the required tools.
Posted by John Rod Dondoyano on 2/22/2024
A piano cover can be referred to as a version of a specific song or an existing piece performed by a pianist on a piano. It can be a new style of rendition or arrangement depending on the performer's preferences or emotion. It can be more emotional or complex. But for me, I always try to make my arrangements easier so that It can be played by beginners like me.
The important ingredients
- A song to cover
- Piano/Keyboard
- Camera
- Desktop computer
- DAW (Digital Audio Workstation) & Video Editor
- Audio and MIDI cables
- LED strip lights (Optional)
- Wooden wall shelf
- Extra lighting
- Black flooring
How do I pick a song
More than half of my piano covers are requested by my viewers. The rest are either my personal choice or requested by my mom or my girlfriend. However, picking a song can be challenging when there is a request which is out of my capability to play it, no trending song yet, and when I am just lazy. But, the song must be on today's trend at least or requested by many, and of course, I must be able to play it.
Piano/keyboard
The piano or digital piano I have is Roland RP 102. It is my very first piano with 88 keys, fully weighted keys, pedals, and with a beautiful sound. The best.
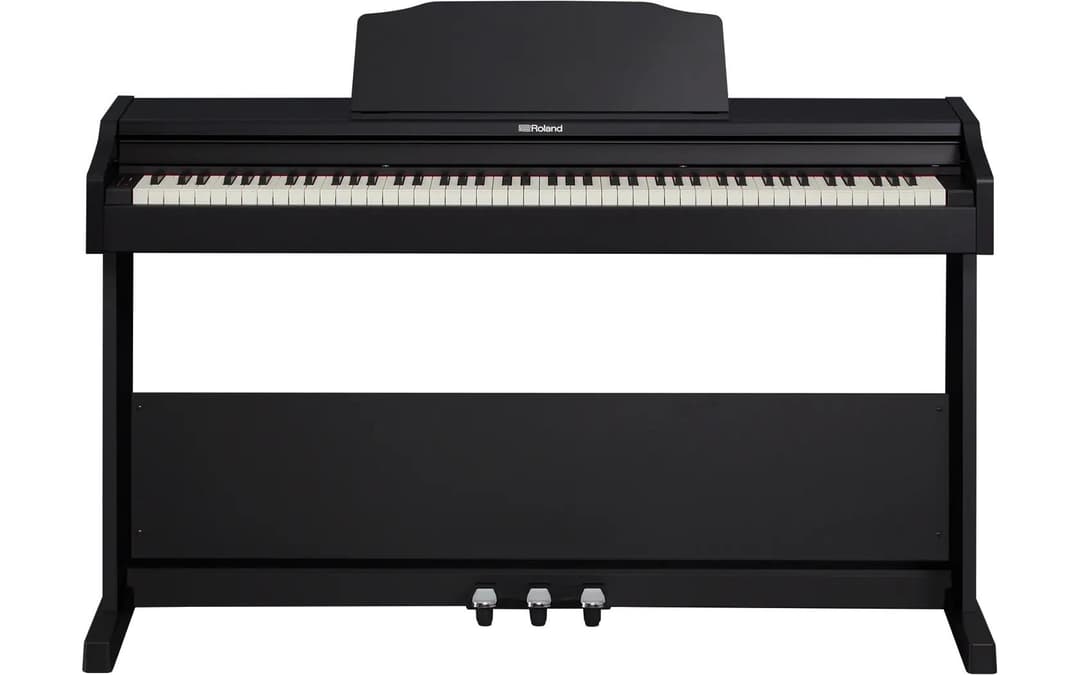
source: https://www.roland.com/us/products/rp102/
Camera
The only camera I have is my smartphone. Samsung Galaxy s23. Nothing beats Samsung's video quality. Other brands are just too bad and appears to be grainy when recording in this type of setup.
Cables
For audio recording, 3.5mm male-to-male audio cable. For MIDI recording, USB-B to USB-A cable.
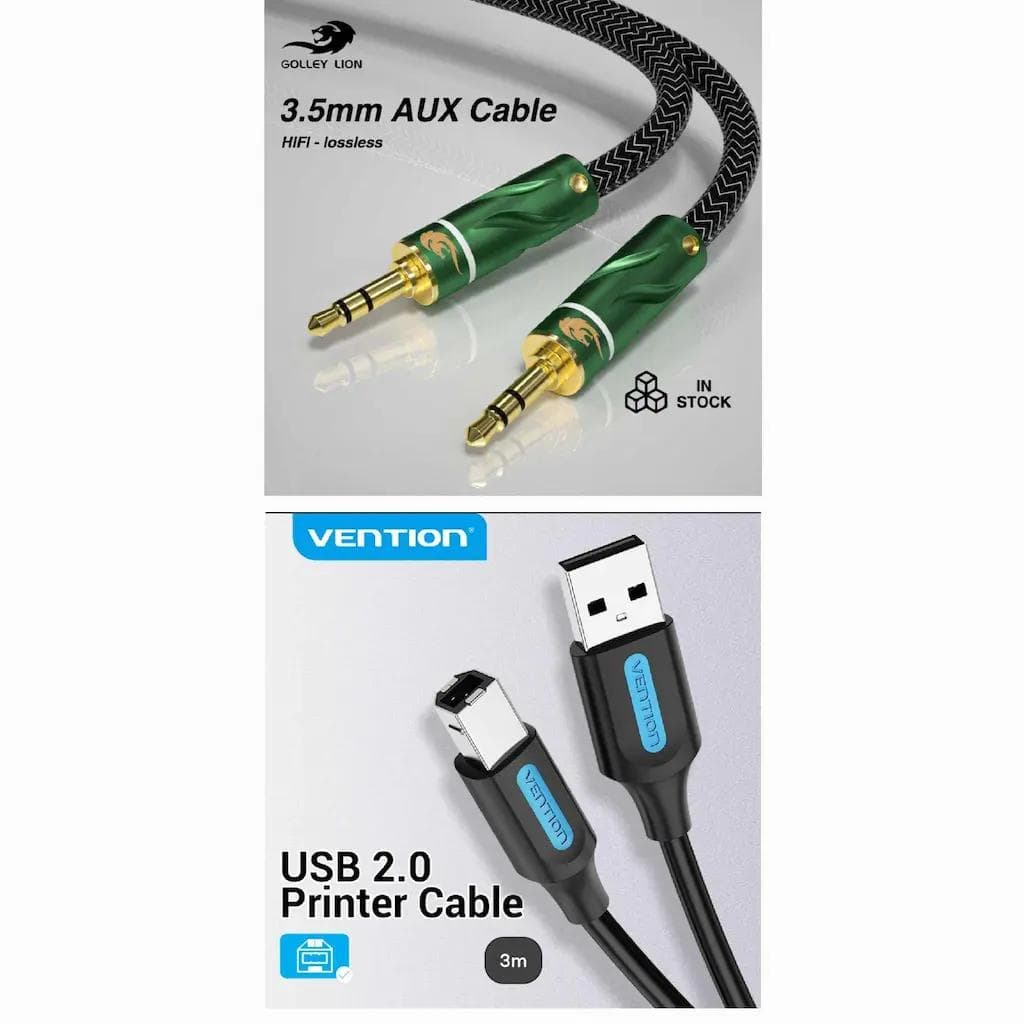
sources: https://s.lazada.com.ph/s.jLGWY, https://s.lazada.com.ph/s.jLGWL
Desktop computer
The specs of my computer I have now is i9-10900k with RTX 3070. Very great for recording and video editing. No complains.
The reason I only use desktop computer and not a laptop is because desktops has a built-in audio line-in which I use for recording the raw audio of my piano. The only requirement you need to have when you have a desktop is a male-to-male 3.5mm audio cable to connect your piano to your desktop and start recording.
Compared to laptops where they do not have built-in audio line-in which will require you to buy an audio interface.
DAW (Digital Audio Workstation)
A DAW is a software used for recording, editing, mixing, and creating audio. The one that I use is FL Studio. Easy to record, easy to setup.
FL Studio is the one that I use for simultaneously recording the audio and MIDI. If you can see my videos, the falling bars are the visual representation of what MIDI is. I use PianoVFX to render it. I think MIDIs are just the digital version of piano sheets.
FL Studio is what I also use to arrange the strings and mix it together with piano audio.
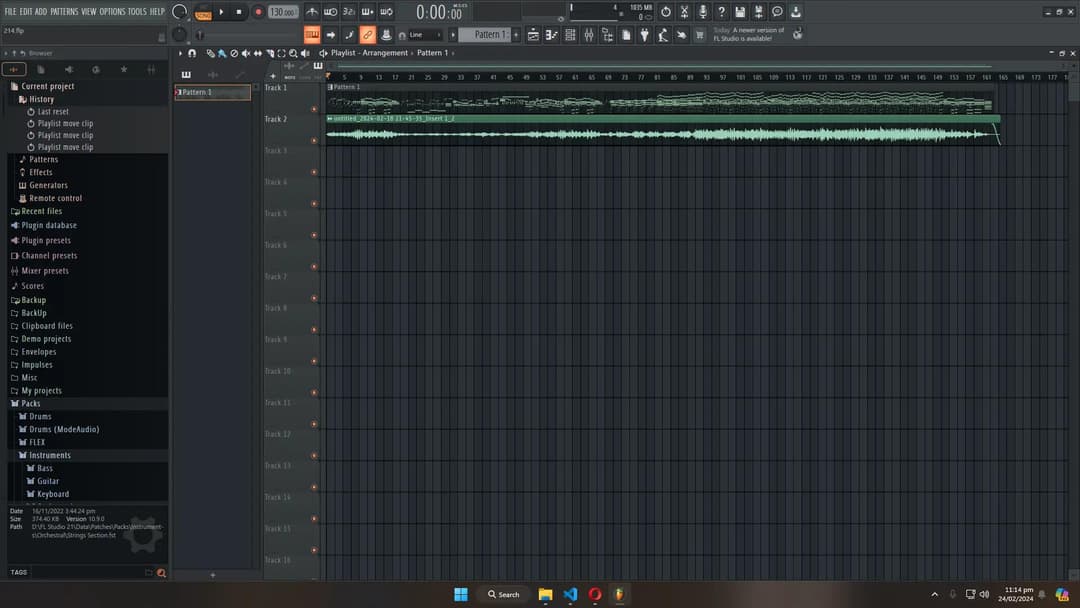
source: https://www.image-line.com/fl-studio/
LED strip lights (optional)
To make your piano more visually appealing, why not use LED strip lights. This will give a colored lighting effect to your piano.
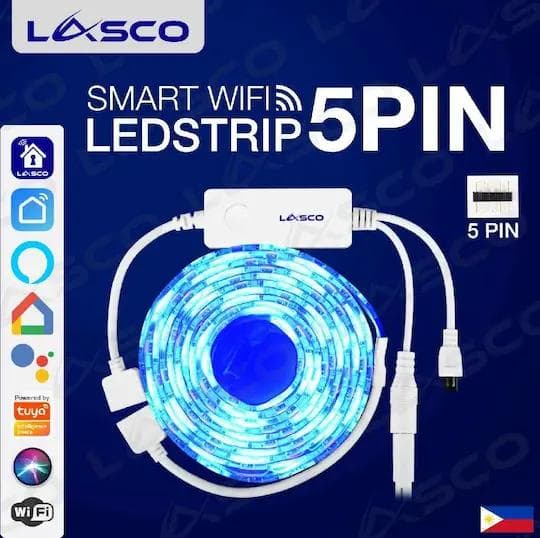
source: https://s.lazada.com.ph/s.jLG3D
Wooden Wall Shelf
A wooden wall shelf mounted to the wall. This where my smartphone/camera sits. However, you need to make it horizontally and vertically aligned with the piano and make sure that the camera sees the whole piano.
I use an accelerometer calibrator, which is available on Google Play Store, and get the coordinates or the flatness of the piano from the floor by placing the phone on top of the piano keys and start the calibration. Now that the accelerometer is calibrated with the piano, remember the coordinates. Then place the phone above the shelf and see if the coordinates is the same with the piano. That's it.
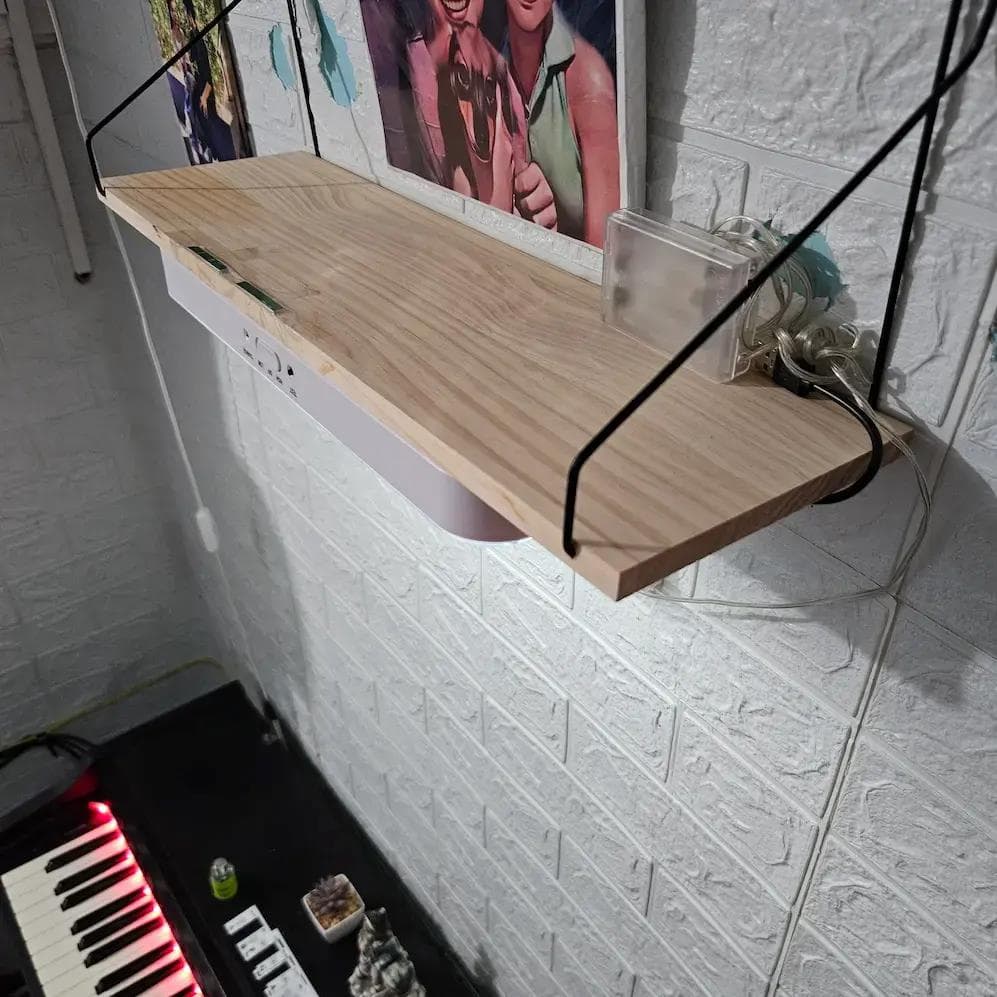
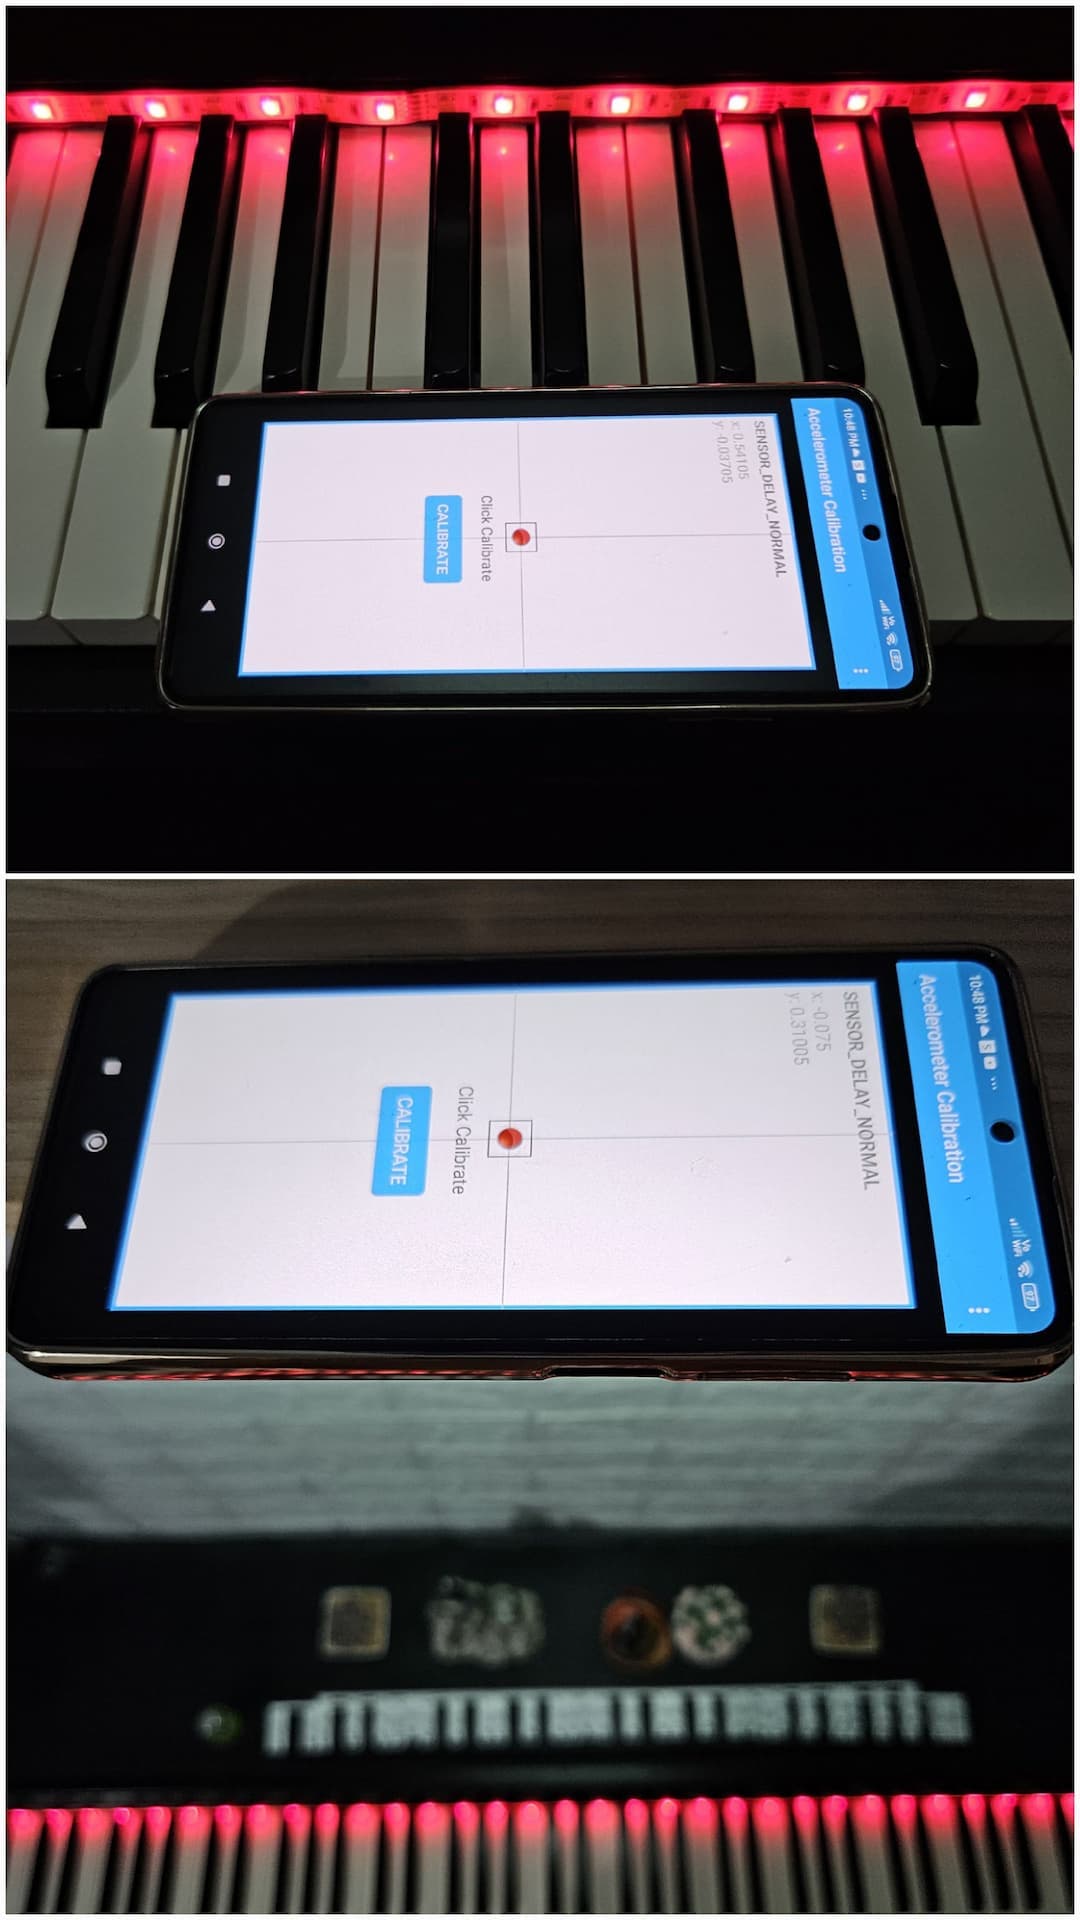
source: https://s.lazada.com.ph/s.jLG3D, https://play.google.com/store/apps/details?id=redpi.apps.accelerometercalibrationfree
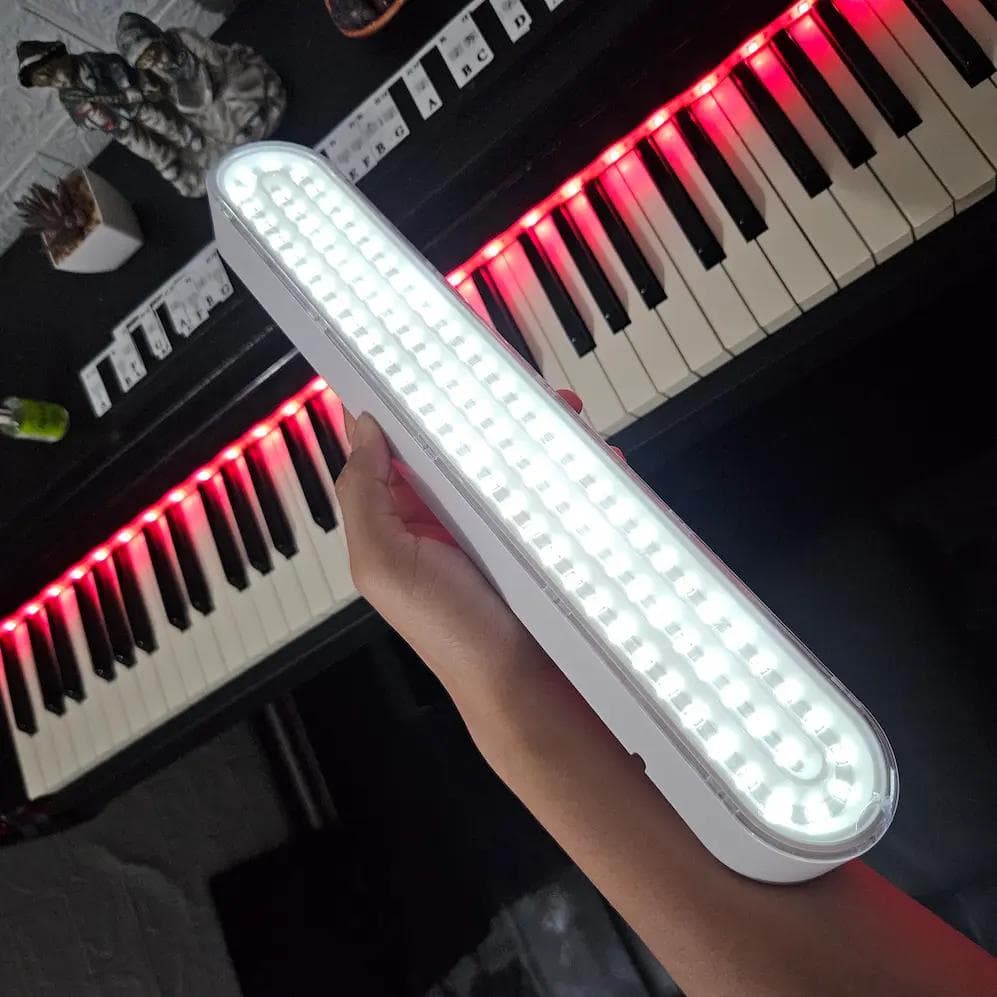
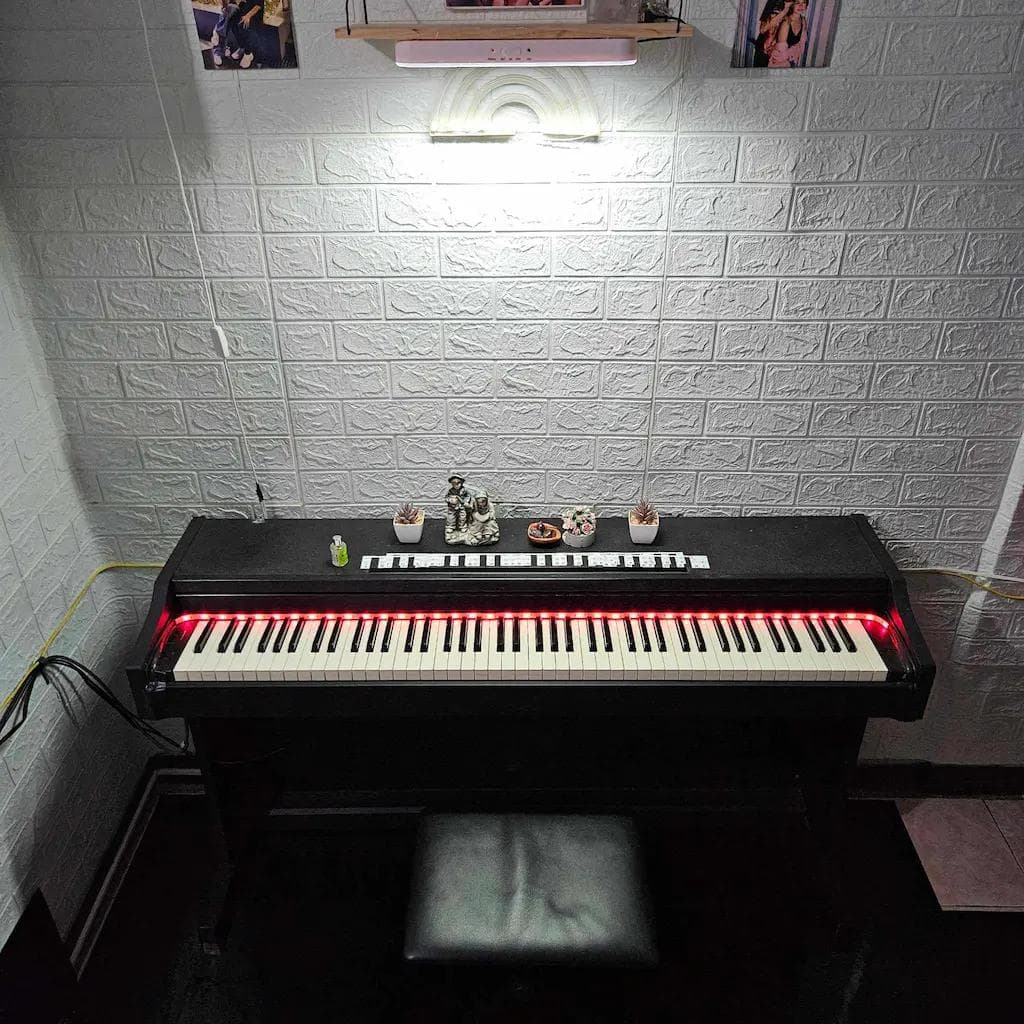
Extra Lighting
What I do is I turn off my room's main light. Then, the only lighting left is the hanging led lamp mounted below the wooden wall shelf. So, it is directly lighting my piano from above.
Black flooring
Others use green screen but I use black flooring. I bought enough amount of black tile stickers to cover up the flooring where my piano stands and the area that the camera can see and with the power of a video editor, I can make it totally dark.
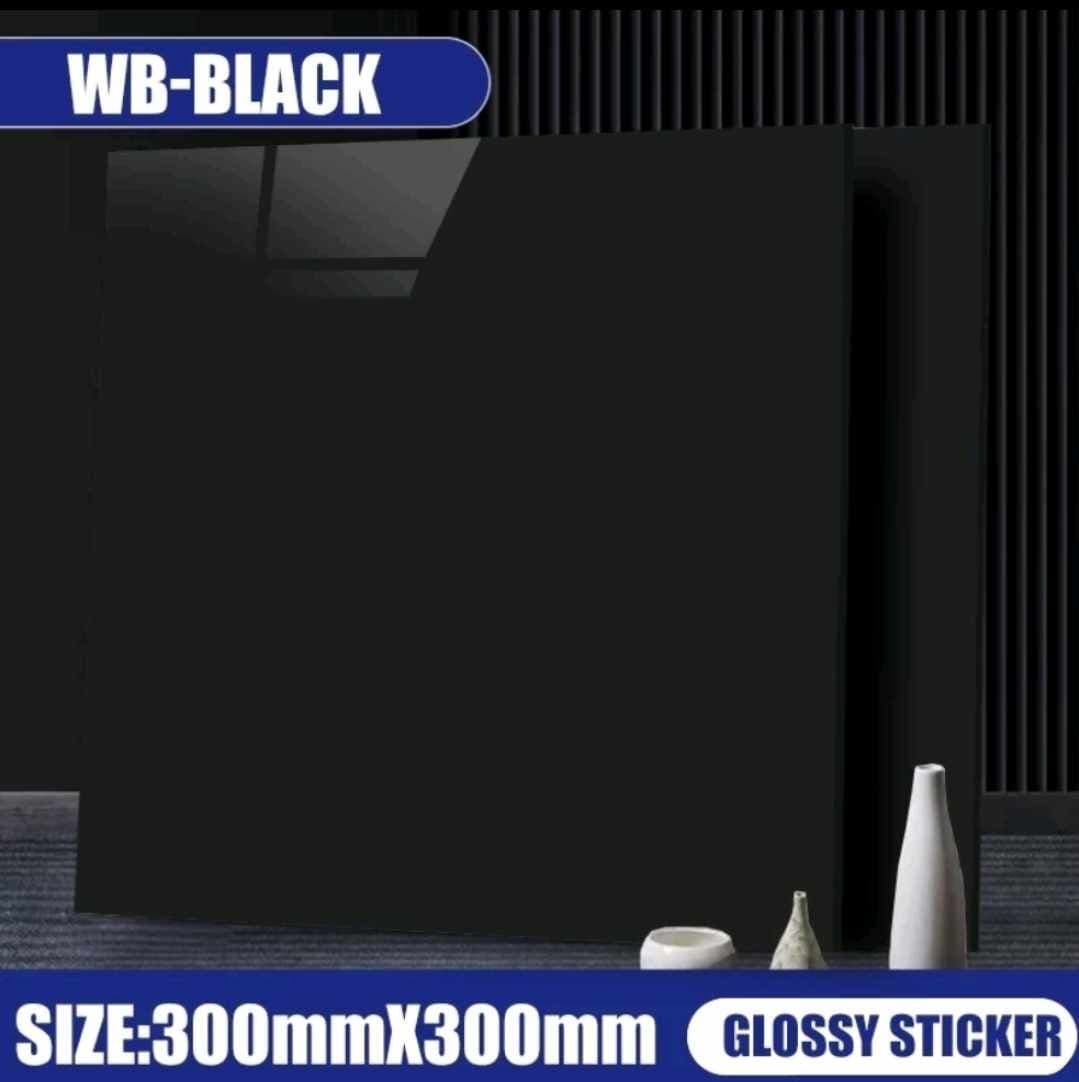
source: https://shp.ee/bcm4sv1
Recording process
Recording process is tough. I can not make a mistake. Once the FL Studio and my camera is in recording, the pressure is intense although I am just alone. That is why I practice 10 times before finally recording it. A successful take is one that has no single major mistake. One mistake, start all over again. I commit an average of 5 takes before I can finally have a flawless one. It must be a lucky day if I can finish recording without a mistake with just one take. The key is to stay calm, and just really practice before recording it.
For the audio editing process, with the help of FL Studio, I put a little bit of reverb to make the sound more studio-like quality. This is also the process where I arrange the strings and mix it with the piano. I use different VST for strings, FL Strings and Spitfire Audio's LABS. This is to add some orchestral touch.
For MIDI visualization, I use PianoVFX. Then for video editing process, I use DaVinci Resolve.
Done!
After the recording and the editing process, it is the start of making the piano sheet. Why? Because, all of my piano sheets are based on the final output of my recording. Why again? Because I really can't read piano sheets that fast. Therefore, instead of creating the piano sheet first and then perform it, I perform and record first then create the piano sheet based on the final output. I use MuseScore for creating a piano sheet.
I hope you learned something or at least gained some techniques you can apply or add to your way of recording. I might make a video about this for a more detailed explanation and guides.
Until next time!
Stay safe and inspired!